Thermos Food Jar Cooking
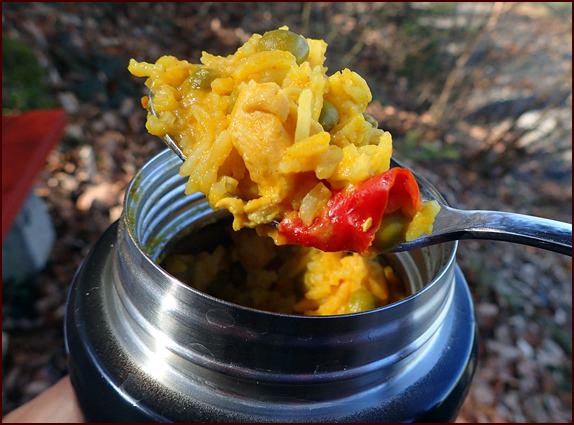
Photo: Curry Chicken & Rice rehydrated in thermos.
The benefits of using a thermos food jar to rehydrate dehydrated meals came to me several years ago while hiking on a frosty day in November. I had packed a cold turkey sandwich; a hot meal would have been so much better.
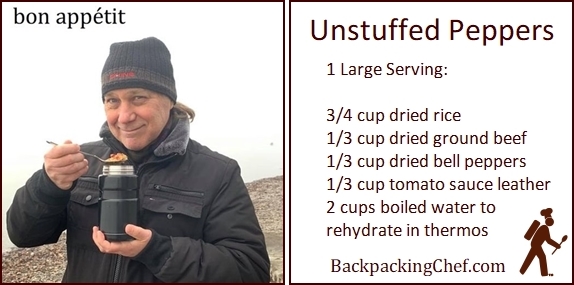
Photo: Thermos Lunch, winter, Unstuffed Peppers.
Since then, Dominique and I have taken thermos meals almost everywhere we hike and travel. Dominique often takes a thermos food jar to work, filling it with soups and hot lunches made with dehydrated ingredients.
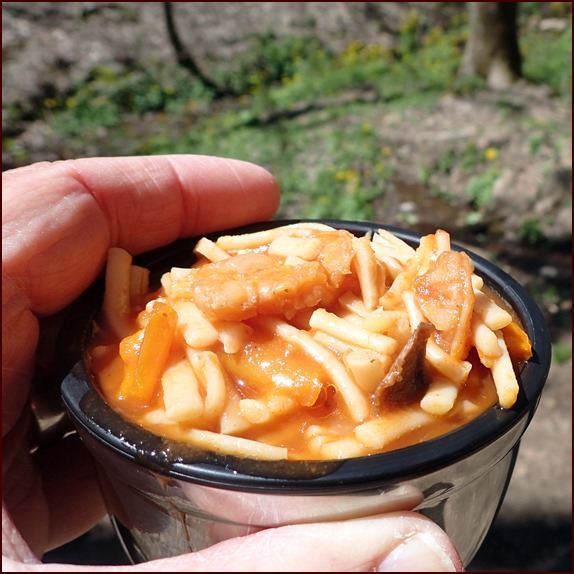
Photo above: Shrimp Linguine rehydrated on the trail in a thermos food jar.
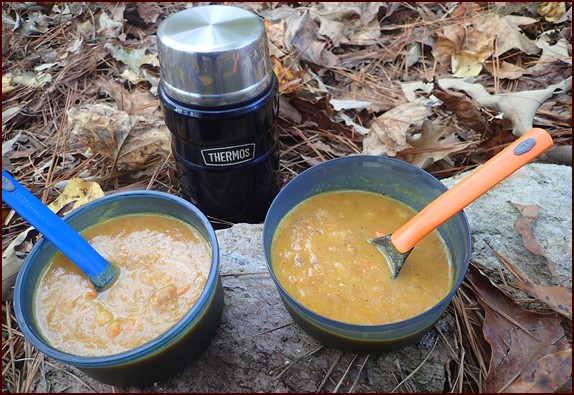
Photo above: Two servings of fish chowder.
Thermos Cooking:
1. Place the dehydrated meal ingredients in the thermos.
2. Add boiled or cold water. For most meals, cover the food with about 30% more water than food (by volume). For a thermos meal which will soak for more than one hour, use 25% more water than you would use if preparing the meal in a backpacking pot that you would consume right away. The food will absorb more water with the longer soak time.
3. Give it a quick stir and screw down the lid.
4. Wait 30 minutes up to several hours for hot meals. Cold-soak meals require between 1½–2½ hours minimum soak time.
Pasta Tip: If you are preparing a pasta meal that you will eat several hours later, you may want to wait to add the pasta.
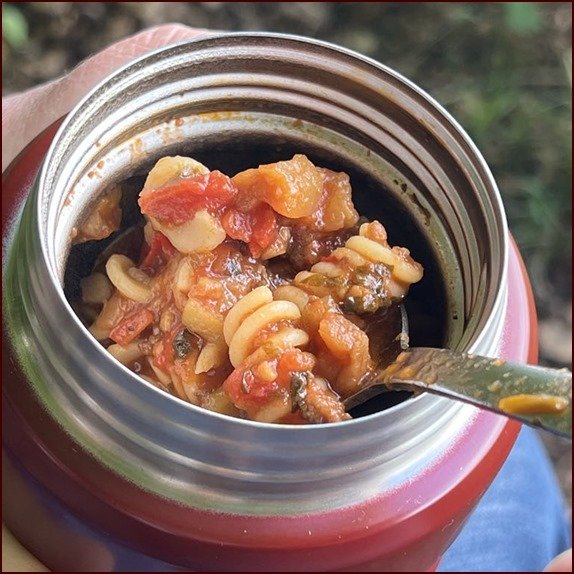
Pasta gets soft when soaked in boiled water for several hours.
If you want perfect al dente texture, wait until 20–30 minutes before serving to add the pasta to the thermos.
Stir the pasta into the meal, and quickly replace the lid.
Turn the thermos upside down for a few minutes to ensure more liquid touches the pasta.
Thermos Food for Backpacking
I prefer a substantial meal for lunch while backpacking. In the past, I would stop and cook along the trail. On rainy and windy days, cooking was not so easy. On those days, I ate snacks and hiked on. Not anymore.
After breakfast, I boil water and add it to the dried meal in the thermos. When I get hungry for lunch, no matter what the conditions, I open the thermos and eat. The opening of a thermos food jar is wide, so I eat right out of the thermos. Alternatively, the cap of the thermos serves as a bowl.
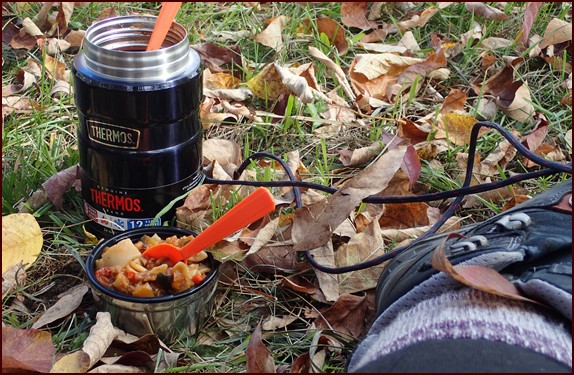
Photo: Thermos lunch, Appalachian Trail, Ratatouille & Noodles.
Cold-soak thermos salads are fantastic in summer. Use cold, filtered water from the water source near your campsite. Hike on and wait between 1½ hours and 3 hours to serve. Salads with pre-cooked and dried macaroni need at least 2½ hours to fully rehydrate, while salads with couscous, quinoa, and rice rehydrate well in 1½ hours.
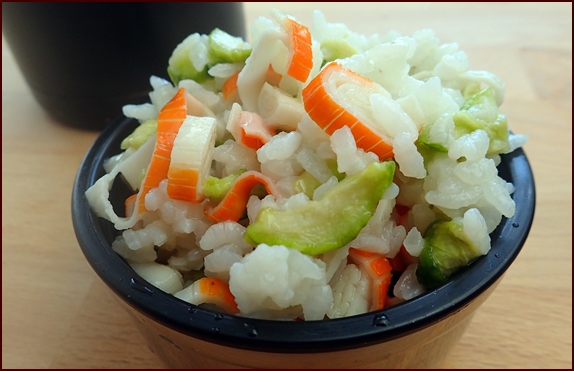
Photo: Sushi Rice Bowl, a cold-soak salad rehydrated in thermos food jar.
After lunch, I fill the thermos food jar again with 1 cup of assorted dried fruits and 2 cups of cold, filtered water. Late afternoon, when an energy boost is needed for the last miles of the day, I take a fruit cocktail break. The fruit is well-rehydrated by then, and a cup of sweet fruit juice remains. This is so refreshing, I rarely eat dried fruit anymore without rehydrating it.
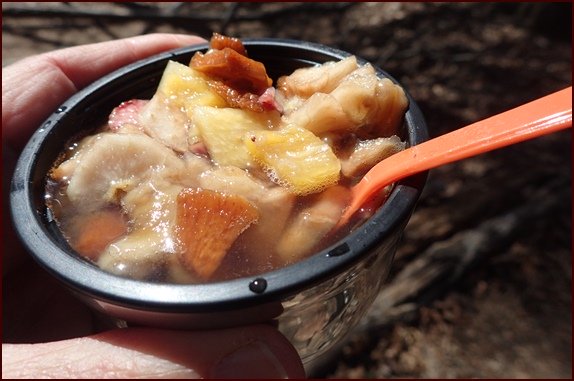
Photo: Afternoon fruit cocktail in thermos food jar lid.
There are also times when I expect to arrive at a campsite after dark, or perhaps I might not want to cook where I sleep due to known bear activity. In those situations, I boil water for the thermos meal in the afternoon, so all I have to do is open the thermos and eat when I get to the campsite.
To save time in the morning, I add boiled water to oatmeal and dried fruit in the thermos before I go to sleep. Or, I prepare Overnight Bircher Muesli by adding cold water to oats, dried berries, and dried grated apples.
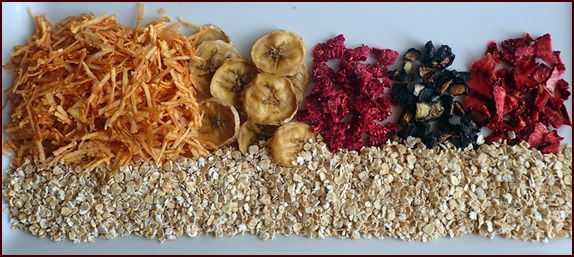
Photo: Dried ingredients for Bircher Muesli. Soak overnight in thermos using cold water.
Long-distance backpackers will find even more ways to use a thermos food jar:
Thru-Hiking with a Thermos Food Jar
On multi-week backpacking trips, hikers pass through towns to pick up mail drops and to resupply from grocery stores. A thermos food jar keeps cold food cold for up to 24 hours. Before heading out of town, fill the thermos with a frozen treat like ice cream, yogurt, smoothie, or milkshake. Or...
Most trail towns have an assortment of restaurants. Hot meals stay hot for up to 14 hours in a thermos food jar. Fill your thermos with an order of bacon and eggs, or go for an entrée from a Chinese or Mexican restaurant. You could order a large pizza and scrape half the toppings into your thermos to eat later on the trail. And wouldn’t it be nice to carry a few cheeseburgers or a plate of barbeque into the woods for the evening meal?
Rest assured, whatever you pack in the thermos will not leak or spread odors in your backpack. The food will be nearly as hot or cold as when you packed it.
Of course, the question every backpacker wants answered is, “How much does a thermos food jar weigh?”
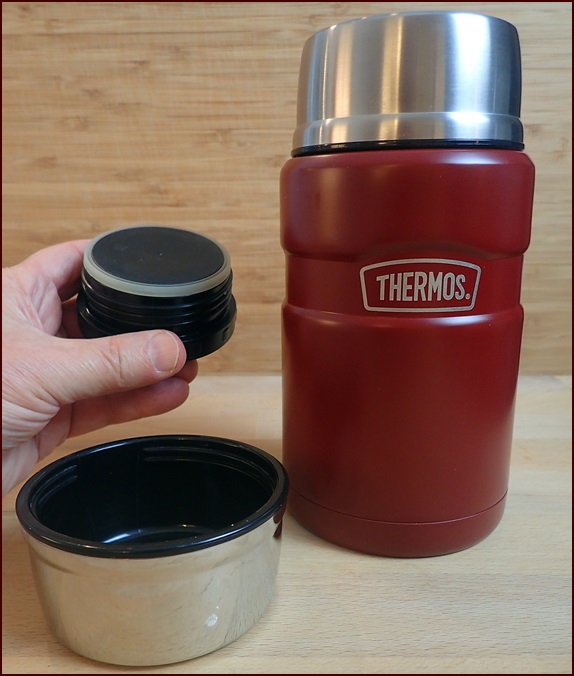
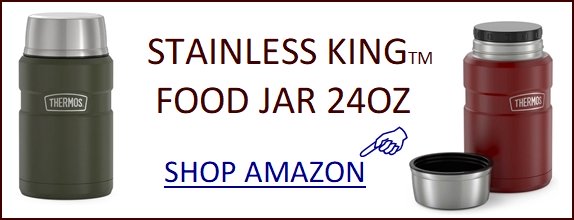
24-Ounce Stainless King™ Food Jar Specifications:
Verified by Backpacking Chef. Amazon understates the weight.
- Weight: 13.7 oz. (388 g)
- Dimensions: 3¾ x 3¾ x 7¼ inches (9½ x 9½ x 18½ cm)
- Capacity: 24 fluid ounces (682 ml)
- Components: Double-wall, 18/8 stainless steel body with matt finish, screw-in lid, screw-on serving bowl.
- Features: Durable, leak-proof, easy-to-clean.
We think the 24-ounce capacity thermos is more versatile than the 16-ounce capacity thermos because it will accommodate a backpacker’s appetite, and there is only a slight difference in weight. The smaller thermos includes a metal spoon that folds into the lid. If you carry the spoon, rather than a lighter-weight plastic spoon, the 16-ounce capacity food jar actually weighs an ounce more than the larger thermos. If you leave the metal spoon at home, the smaller thermos is just 1-ounce lighter than the larger thermos.
Disclosure: As an Amazon Associate, Backpacking
Chef earns from qualifying purchases. Thank you.
Thermos Meals for Two People
To keep our total pack weight down, Dominique and I carry one 24-ounce capacity thermos food jar between us. We prepare a large serving size, maxing out the capacity of the thermos, and we share the meal. With a few extra items on the side, we find this makes a satisfying lunch. The recipe below will more than adequately satisfy one hungry hiker.
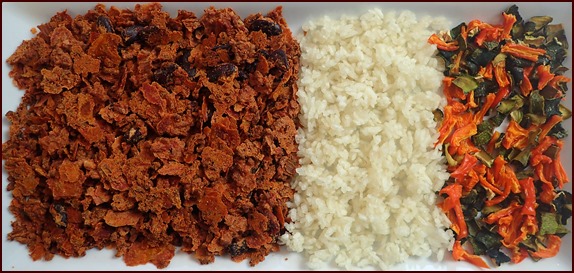
Photo: Dried ingredients for Chili & Rice thermos meal.
Chili & Rice for Two People
Ingredients:
- 1 cup dried chili
- ½ cup dried rice
- ¼ cup dried vegetables, any kind
- 2¼ cups boiled water to rehydrate
Preparation: Add boiled water to dried ingredients in thermos. Wait at least 30 minutes up to several hours.
Helpful links for this thermos recipe:
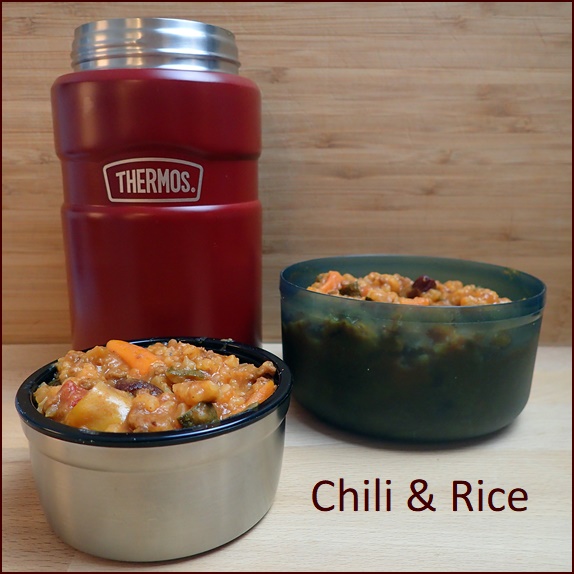
Photo: Chili & Rice rehydrated in thermos food jar.
Dominique and I often share our meal by eating directly out of the thermos. Sometimes we transfer some of the meal to the serving lid (foreground), and sometimes we carry two plastic bowls like the one shown in the background. (Nesting bowls from GSI Dualist Pot Set)
Thermos Food for City Trips
Dominique and I take our thermos and dehydrated meals on city trips where we stay at hotels. We use the water kettle in the hotel room to boil water in the morning. While exploring the city, we don’t worry about finding a restaurant for lunch, which often involves waiting for a table. Instead, we head to the park to enjoy our meal outside. The money we save by not paying for lunches goes towards nice dinners at restaurants in the evening.
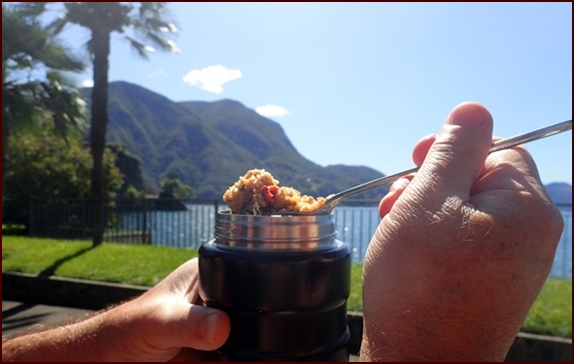
Photo: Chef Glenn enjoying Mexican Beef & Rice in a park in Lugano, Switzerland.
Thermos Food for Road Trips
When we hit the highway in the morning with our destination six or more hours away, we always fix a thermos meal before we leave. It allows us to pick a pleasant spot to pull-over for a picnic lunch, rather than fight traffic and wait in line at a fast food restaurant.
RV travelers appreciate how lunch in a thermos makes the trip easier—no need to maneuver the trailer through tight parking lots. And homemade thermos food tastes better, too.
Truck drivers save money and eat healthier with thermos meals, compared to eating at truck stops.
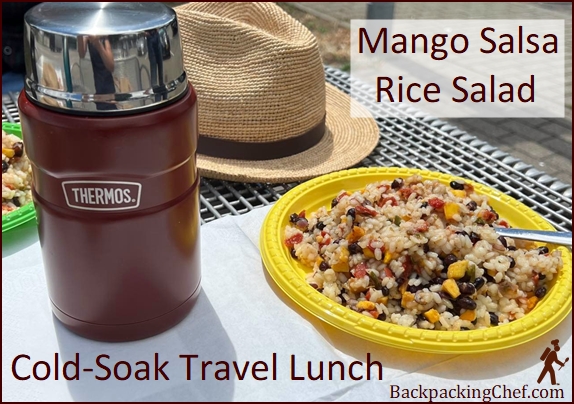
Photo: Rest area on the motorway in France. Recipe: Mango Salsa Rice Salad.
Thermos Food for Day Hikes
We’re usually in Switzerland during the winter, and we go for a hike most weekends. When the temperature plunges below freezing, we sure do love our hot thermos soup or meal.
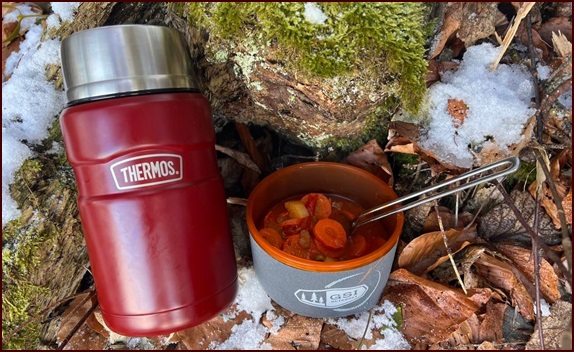
Photo above: January hike with thermos soup. See Dehydrated Soup Recipes.
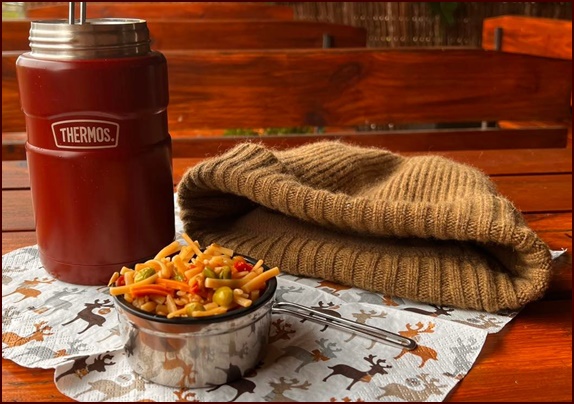
Photo above: December hike with Thai Peanut Noodles with Chicken & Veggies.
In summer, we head out with cold-soak salads in our thermos, like sushi rice bowl salad, couscous salad with cucumber-salsa dressing, or peach salsa rice salad.
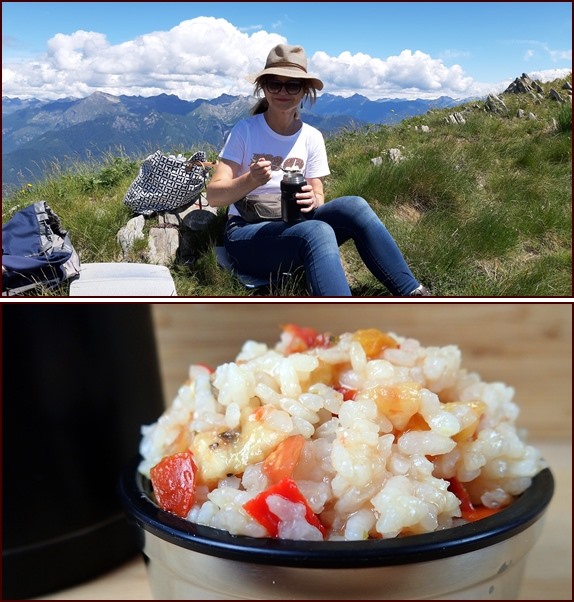
Photo: Dominique enjoying peach salsa rice salad, Monte Tamaro, Switzerland.
Thermos Food for Work
When our son lived with us, we usually sent him to work with left-overs from the night before. When there were no left-overs, we put a dehydrated meal in his thermos with boiled water. Dominique sometimes prepares a dehydrated soup for herself in the morning to take to work.
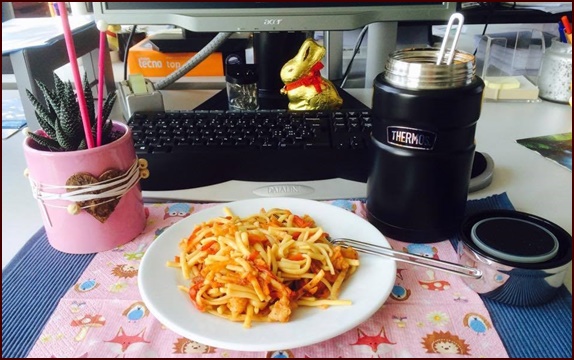
Photo: Dominique’s thermos work lunch, rehydrated shrimp linguine.
Explore More...
Recipes for Thermos Food Jar Meals:
Bircher Muesli, Cold-Soak Breakfast

You can make thermos meals and soups with any of the recipes and food dehydration instructions found in the Recipes for Adventure books.
Share this page with friends on social media.
Free E-book & Newsletter
Free with Trail Bytes subscription.
Dehydrating Food from A–Z

