How to Make a Pot Cozy
After you bring a dehydrated meal to a boil, it still needs another fifteen to twenty minutes to fully rehydrate. Transferring the pot to an insulating pot cozy holds in the heat, so the meal stays hot.
The meal will continue to cook because of the retained heat, so a cozy saves fuel.
Video above: George Andrews of Anti-Gravity Gear shows how to make a pot cozy.
When you're ready to eat, the insulation around the pot allows you to hold the pot in your hand, or set it in your lap when there is no table.
When you pack up, your backpacking pot nests inside the pot cozy for transport. Most pot cozies will only weigh one or two ounces.
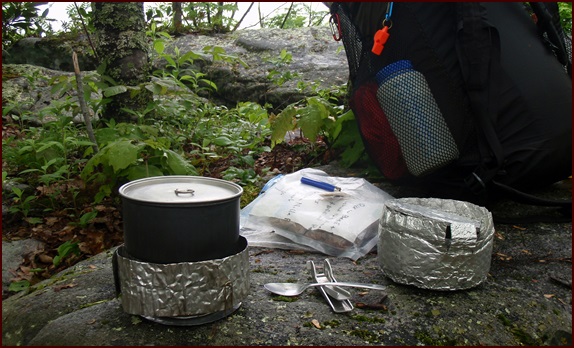
Photo: My homemade pot cozy on right used during a 30-day backpacking trip on the Appalachian Trail.
Pot Cozy Materials
1. Double-Bubble Reflective Foil Insulation
2. Foil Tape
It's easy to make your own pot cozy with double-bubble reflective foil insulation and foil tape.
These items can be found at hardware stores or you can purchase them on Amazon:
Pot Cozy Material on Amazon
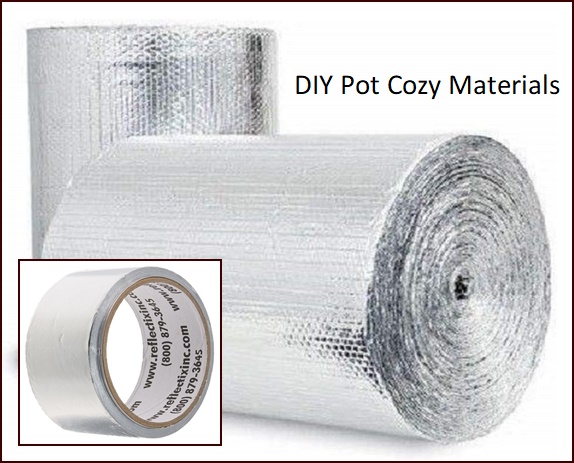
Double-Bubble Reflective Foil Insulation, 24” x 10’
Reflective Foil Tape, 2" x 30'
Disclosure: Backpacking Chef participates in the Amazon associates program and earns from qualifying purchases.
Custom Pot Cozy or Pot Cozy Kit
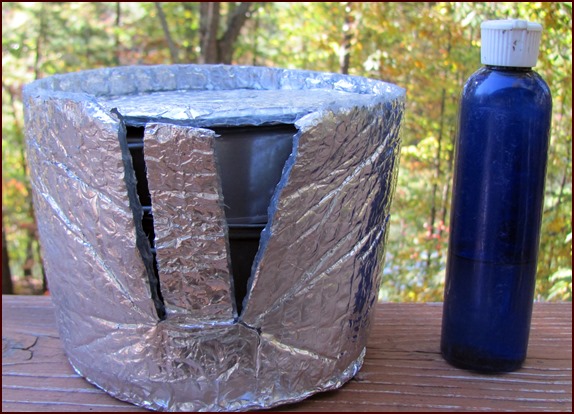
Photo: My Evernew titanium pot with fry pan lid inside a custom-made pot cozy.
Anti-Gravity Gear makes custom pot cozies to fit Evernew, Snow Peak, and Toaks titanium backpacking pots. They also sell a pot cozy kit with enough material for you to make one yourself.
Visit Anti-Gravity Gear's Pot Cozy Page.
Insulating Cozy for Freezer Bag Cooking
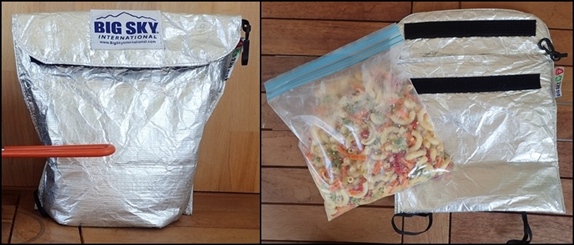
If you rehydrate meals in a freezer bag or Mylar Bag, you can make an insulating cozy with double-bubble foil material, or you can buy one from Big Sky International.
Visit the Big Sky freezer bag cozy page.
Automobile Windshield Sunshade Material
Backpacking Chef reader, Eric March shared this suggestion:
"A
good way to get Reflectix™ type material in small quantities to make cozies is with an automobile windshield sunshade. A regular-sized one
can make several, and is as close as your local auto
parts store." -Eric
Not all windshield sunshades are suitable for making pot cozies. Look for one with foil-coated bubble insulation. You may find that windshield sunshades may only have one layer of bubbles, or they may just have a layer of thin foam, which is not a good insulator.
I used a cheap sunshade to make a pot cozy for my GSI Outdoors pots as described in the next section; I didn’t have any double-bubble material on hand. The material turned out to be flimsy with uncoated foam on one side. This required me to double up the material and cover the whole thing with foil tape. If I had used double-bubble material, I would have only used foil tape to attach the parts.
For the best results, go with the Double-Bubble Reflective Foil Insulation from Amazon.
Making a Pot Cozy for GSI Outdoors Backpacking Pots
These measurements are for making a pot cozy that will accommodate a 1.4 L GSI MicroDualist pot, or the 1.1 L GSI Soloist or Boiler pots with a little extra space.
Because of the handle locations on the pots, a 2-piece pot cozy works well, with the top part sliding just a little over the bottom part.
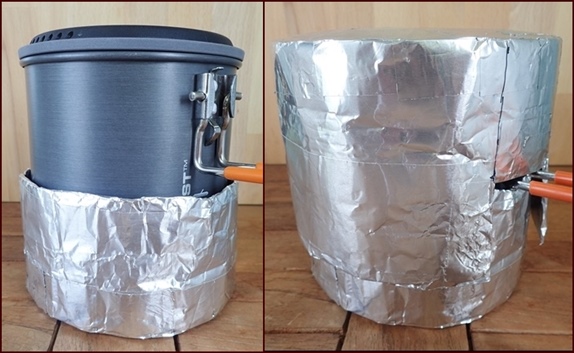
Photos above: GSI Halulite 1.4 liter MicroDualist pot placed in bottom cozy after removing meal from stove, and then top cozy placed over top of the pot.
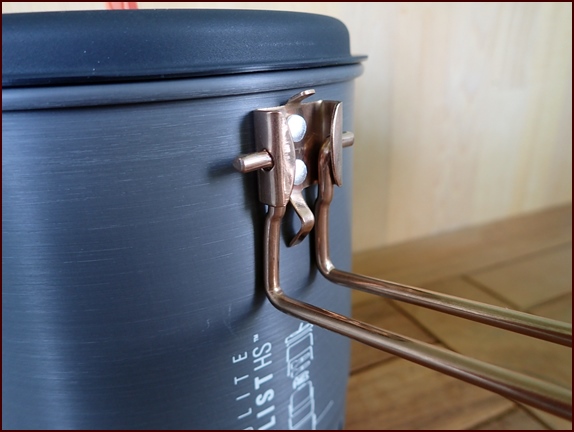
Normally, the top and bottom circles of a pot cozy can be traced by placing the pot on top of the reflective material. With a GSI pot, you need a slightly wider top circle because the handle sticks out a little when locked over the lid.
Another way to determine the correct measurements needed to make a pot cozy is to use a simple mathematical formula:
C=2πr, where C = circumference, π (pi) = 3.14, and r = radius (½ the diameter)
This formula will allow you to draw the circles using a ruler and compass, and then determine the lengths of the cozy side walls (circumferences) using the formula.
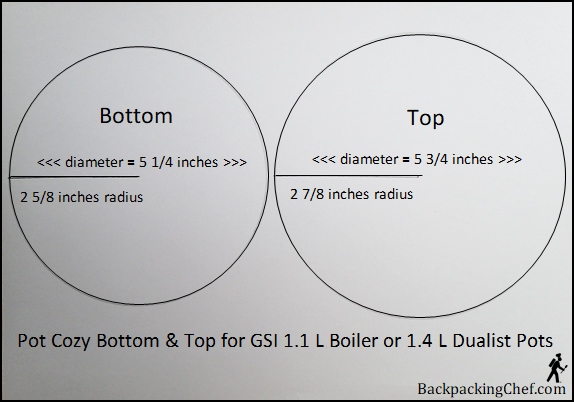
Measuring and Cutting the Top & Bottom Pieces
Steps:
1. Lay a ruler across the top of the pot in the middle, allowing the extra space needed to accommodate the handle. That’s your diameter.
2. Divide the diameter by 2. That’s your radius, or half the diameter.
- Bottom Piece: Diameter = 5¼ inches, Radius = 2⅝ inches.
- Top Piece: Diameter = 5¾ inches, Radius = ⅞ inches.
3. Draw a line the length of the radius. Place the point of the compass at one end of the radius line and the pencil or marker at the other end of the radius line. Rotate the compass to draw the circle.
This procedure is easy to do on poster board. Cut out the shapes and then trace onto the pot cozy material. Save the paper cut-outs and you’ll save time when you make replacement cozies.
Measuring the Side Pieces
The lengths of the side pieces is equal to the circumferences of the circles.
The circumferences are determined by multiplying the diameters of the circles by 3.14 (pi).
- Top Side Piece Length: 5¾ inches x 3.14 = 18 inches.
- Top Side Piece Width: 4 inches.
- Bottom Side Piece Length: 5¼ inches x 3.14 = 16½ inches.
- Bottom Side Piece Width: 2¾ inches.
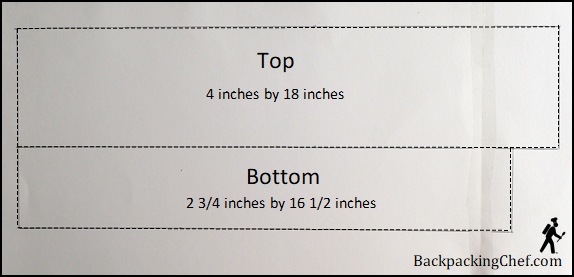
Cutting the Pieces
Once you have your paper pieces cut out, trace them on the cozy material. Or, draw the measurements directly on the material.
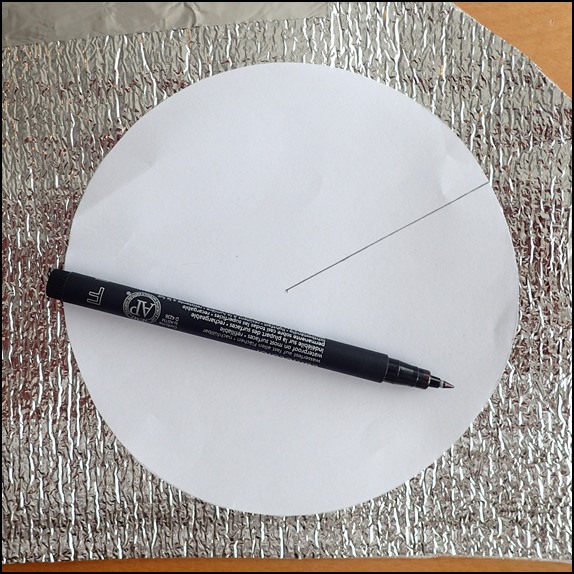
Photo: Tracing one of the paper cut-outs onto the cozy material.
Attach the Pieces
I found it easier to attach the side pieces to the top and bottom by using 1-inch pieces of foil tape, rather than one long piece of tape. Foil tape is tricky to work with; it likes to stick to itself.
Tip: Don’t cut all the 1-inch pieces of tape before you peel off the backing. It can be very tedious to separate the backing from the sticky side. Instead, cut the pieces as you go and after you have pulled back the backing, leaving a little bit of tape without the backing attached for the next cut.
The other method is to cut a piece of foil tape the length of the side piece, attaching half of it to the side piece. Then, as you roll the top piece over it, make cuts in the foil every inch, so it will fold over the top without wrinkling.
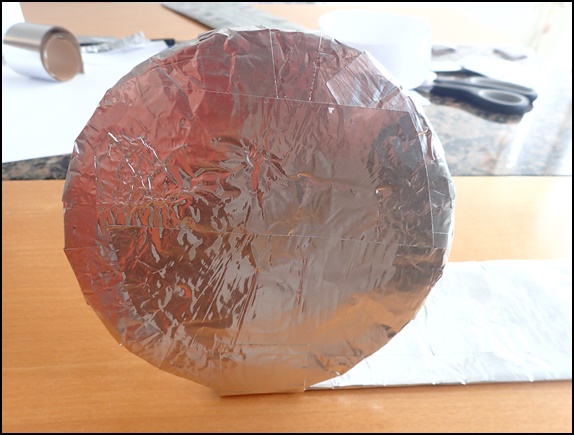
Photo: Rolling the top piece along the side piece, attaching it with pieces of foil tape.
Cut a Notch for the Handle
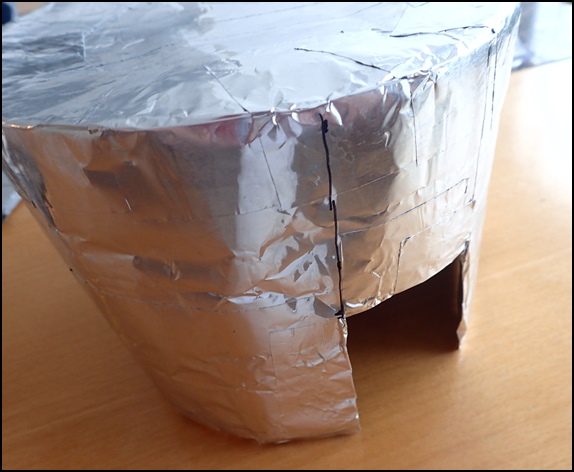
Photo: Once the top cozy is assembled, cut out a notch that will allow the handle to stick out when in use.
Packing a GSI Windscreen inside the Pot Cozy

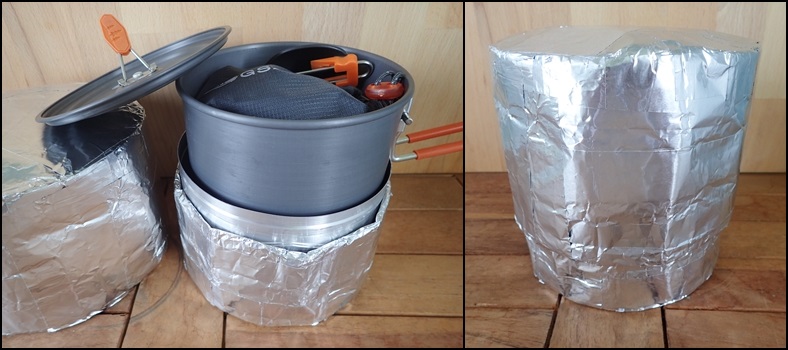
Photos above: The GSI windscreen support packs inside the pot cozy below the pot during transport. An extra piece of padding is placed over top of it to reduce rattling.
Photos below: Packing up a GSI 1.1 liter Boiler pot with the windscreen wrapped around it inside the cozy. After locking the handle over the top of the pot, the top cozy slides down over the pot for transport.
Explore More...
Homemade Backpacking Stoves – How to make a simple alcohol stove using tealight candles, how to make a candle stove, and how to make light-weight pot stands & wind screens.

Share this page with friends on social media.
